4 Inner-Thigh Exercises for Strength and Endurance
Practically everything we do in ballet, from dégagé to développé, requires inner-thigh strength. And yet, “it’s a really hard muscle to strengthen,” says Eliza Tollett, founder and owner of The Ballet Spot, a ballet fitness program with classes in New York City, Los Angeles, and online.
Ballet tends to be very quad-heavy, says Tollett, who has certifications from American Ballet Theatre’s National Training Curriculum (in levels pre-primary through 5) and the National Academy of Sports Medicine (in personal training with a specialization in women’s fitness). Dancers may neglect strengthening their inner thighs and glutes, which is why cross-training is so essential, she says.
Your inner thigh muscles, or “adductor muscles,” do a few important things: They help bring your legs together towards the middle of your body, stabilize your hip and knee joints, and help with extension both on the stabilizing side and in the lifting leg.
In a long variation, for example, you need inner-thigh endurance to maintain consistent, clear technique, Tollett says. “You want to make sure that your inner thighs are strong so you’re crossing your fifths all the way, and making sure you’re turned out in développé or extensions.”
Here are four cross-training exercises that Tollett recommends to target your inner thighs. Add this workout to your routine a couple of times a week or do it as a warm-up before class or rehearsal.
You’ll need:
- yoga mat
- weight bench or sturdy elevated surface, like a couch or chair
- 1- to 2-pound ankle weights (optional)
For all exercises below, rest for 30–90 seconds between sets of repetitions (“reps”) to have enough time to recover.
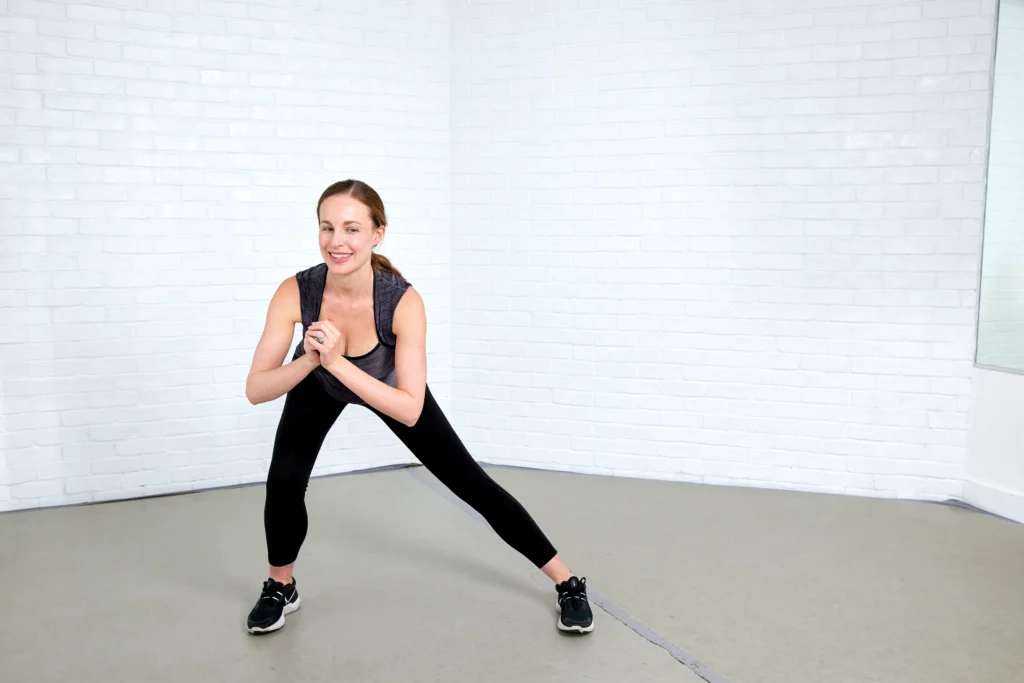
Side Lunges
- Stand with your feet fully together in parallel.
- Step out with your right foot as wide as possible, maintaining parallel feet.
- Press your weight through the right heel as you drop your hips down and back, keeping your left leg straight and feet flat on the floor.
- Return to the starting position for one rep.
- Continue for 2 to 3 sets of 8–10 reps on each side.
Tip: These side lunges serve as the dynamic warm-up section of your workout. A dynamic warm-up takes your body through your full range of movement and gets your heart pumping. Before you begin, it’s wise to foam-roll your adductor to release any tension that you might be holding in the muscle, Tollett says. “After the dynamic stretch, your muscles will be ready to be more active in the strengthening exercises that follow.”
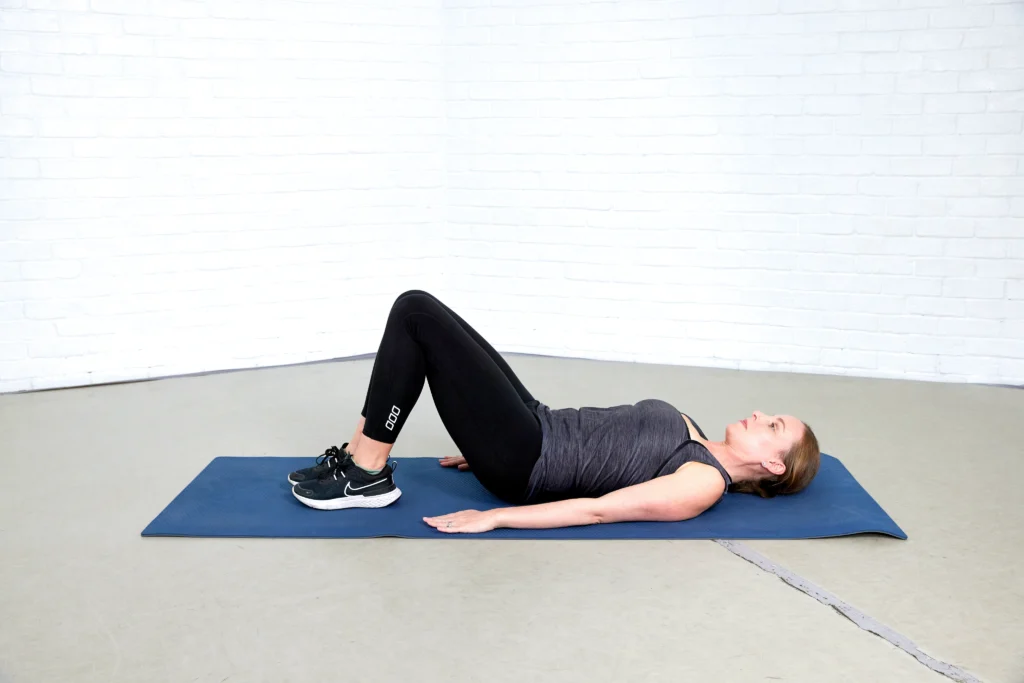
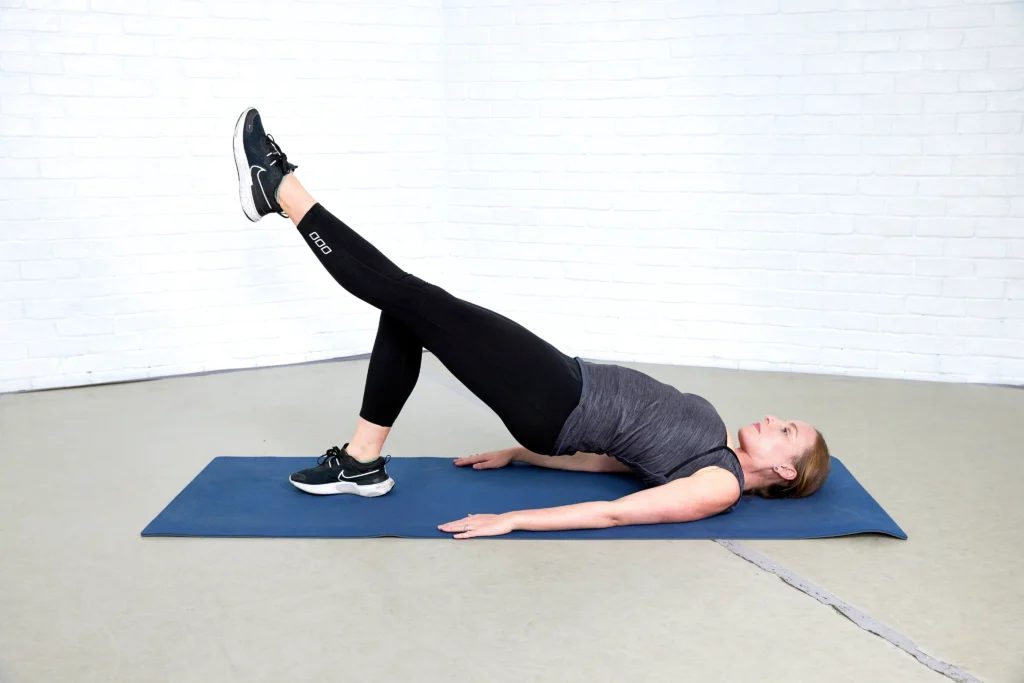
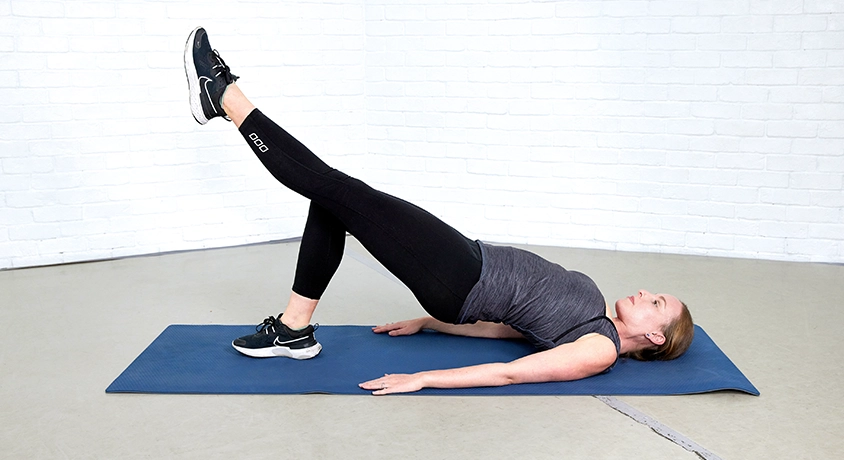
Bridges
- Lie on your back with your feet flat against the floor and knees bent, arms flat on the floor by your sides. Your feet, knees, and legs should be pressed together so there’s no space between.
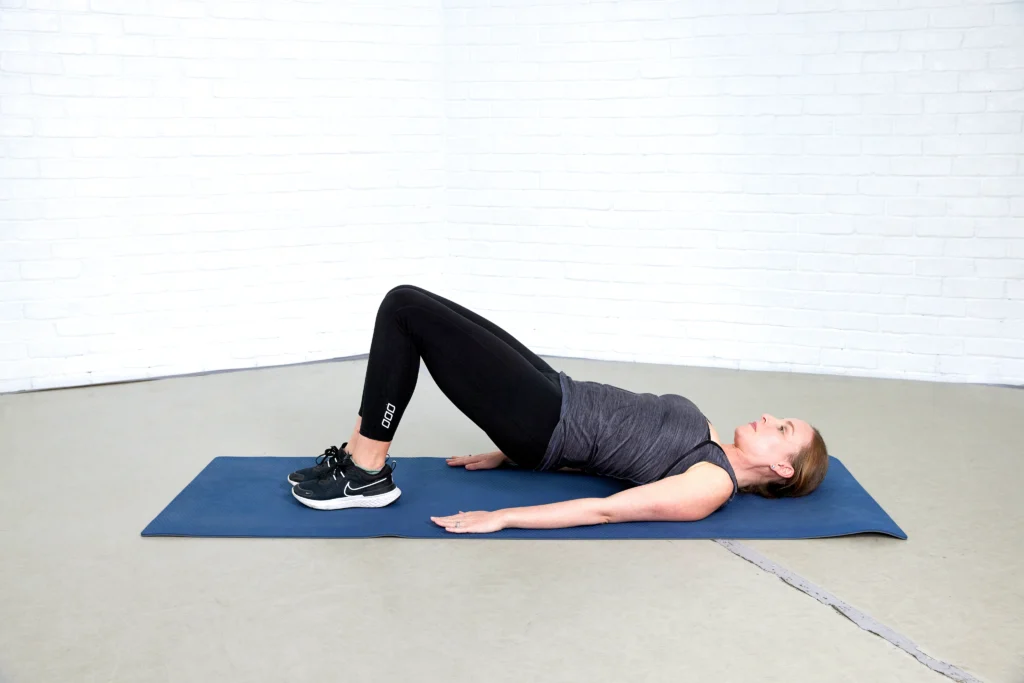
- Squeeze your glutes and lift your hips off the floor until your body forms a straight line from your knees to your shoulders. Exhale as you lift your hips and draw your stomach toward your spine to engage your deep abdominals.
- Hold for 30–60 seconds; lower your hips back down to the floor. Repeat for 2 or 3 sets.
Tip: You might’ve done this exercise before with your legs hip-width apart, but this variation is designed to target the inner thighs as well as the glutes. “Glutes are super-important, not just to propel you through space, but to control your knees and hips and protect your lower back,” Tollett says. Imagine there’s a $100 bill or winning lottery ticket between your knees that you’re trying to hold tight, she says.
If you’ve built up strength and this starts to feel easy, you can extend one leg from the knee to make it harder, says Tollett. “Keep squeezing your legs together, so your legs don’t float apart.”

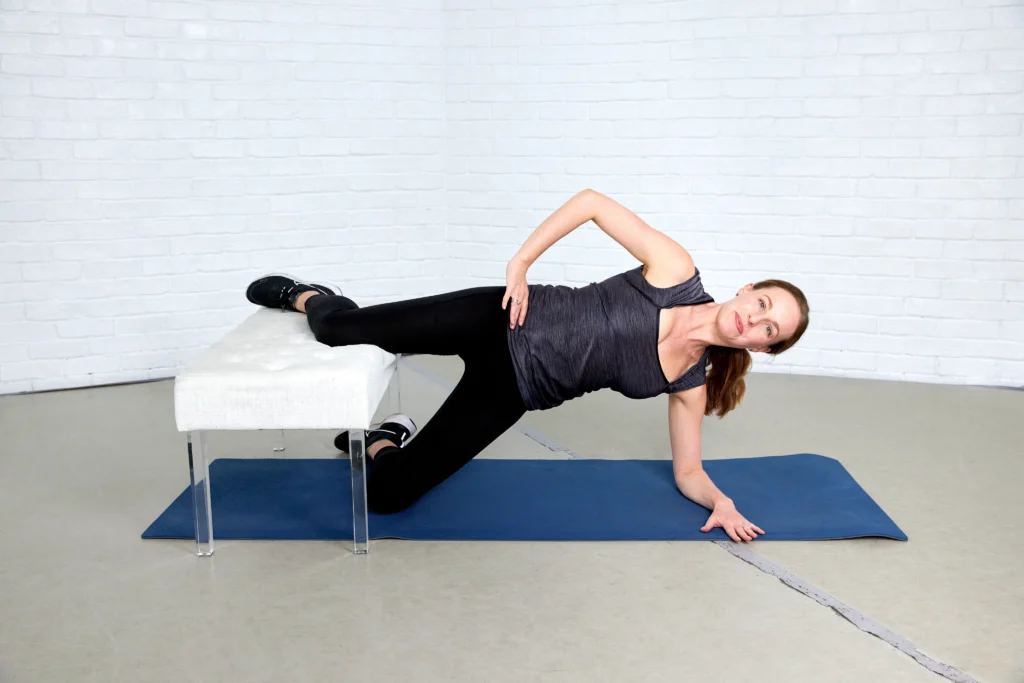
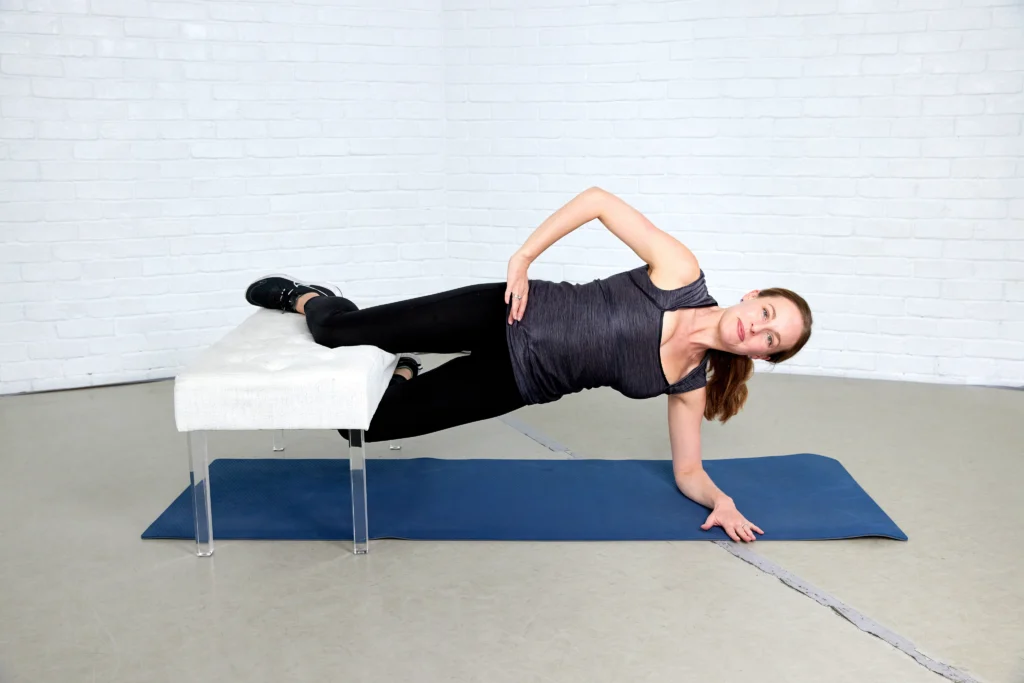
Copenhagen Plank
- Lie on the left side of your body, so that you’re perpendicular to a bench, couch, or chair. Rest on your left elbow, with your forearm flat on the floor and upper body elevated.
- Bend both legs at 90 degrees and rest your right knee and calf on top of a bench.
- Draw your navel to your spine as you exhale while lifting your hips off the floor as if doing a side plank. Keep your bottom knee on the floor.
- For an added challenge, bring your left leg off the floor so both thighs meet.
- Hold for 30–60 seconds. Gently lower your left leg to the floor and return to lying on your side. Repeat for 2 or 3 sets on each side.
Tips: Progress slowly, because this exercise is “really hard, but good,” Tollett says. Start with bent legs and your bottom knee on the floor when you hold the position. Work on it for several weeks if it feels too challenging. Then, over several more weeks, try raising the bottom leg to meet the top. The most advanced challenge is to lift your bottom leg to meet the top leg, keeping both legs straight and the rest of your body stable.
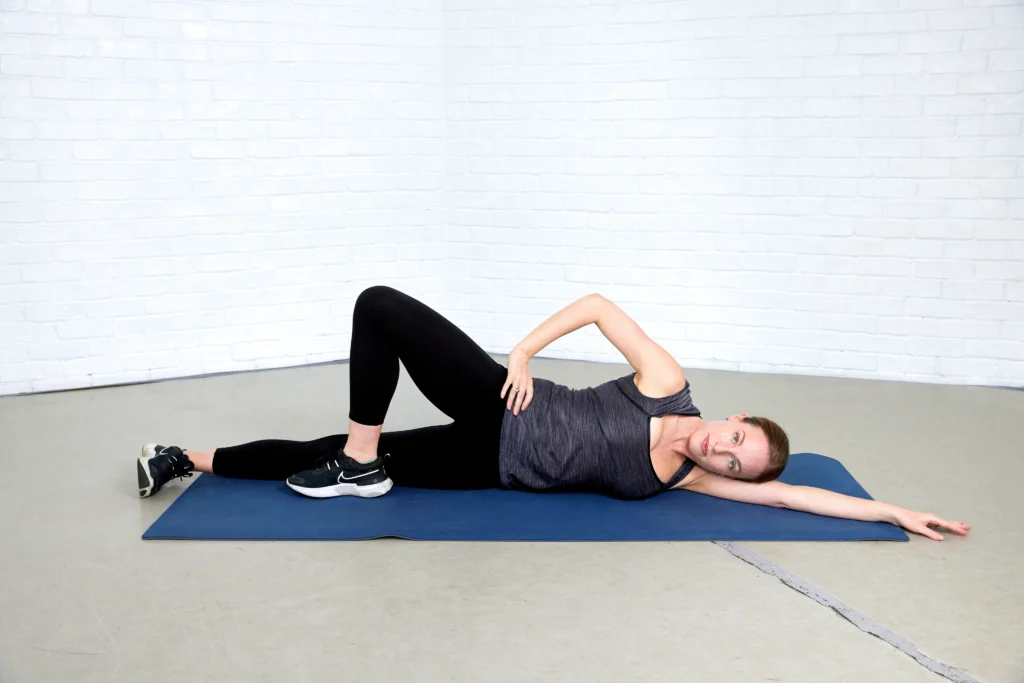
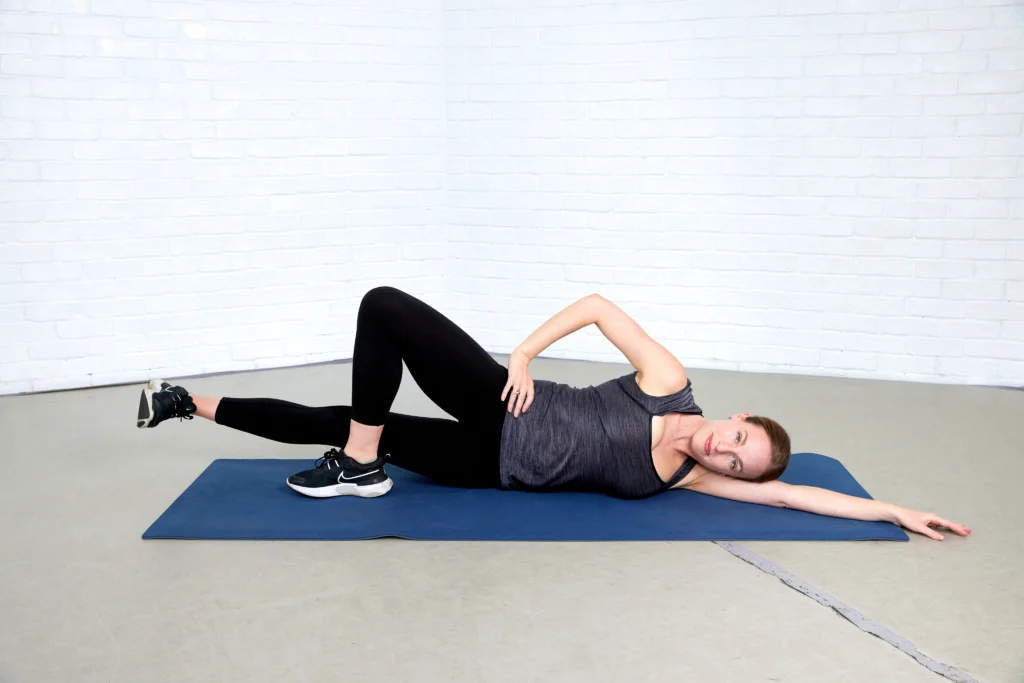
Leg Lifts and Circles
- Lie down on your left side with your right leg bent so your right foot is flat on the floor in front of you.
- Lift the bottom leg up off the mat with a flexed foot, then slowly lower only to a hover between each lift, aiming not to rest your leg on the floor during the set. Repeat for 8–12 reps.
- Lift your bottom leg from the mat and draw a clockwise circle with the leg. Do 8–12 reps, then repeat counterclockwise.
- Complete 2 or 3 sets of each exercise on both sides.
Tip: Your hips and shoulders should be stacked one on top of each other, which takes a bit of core strength. Engage your abs throughout the series and don’t let your top hip roll forward in front of the bottom hip, Tollett says.
Want to make this more challenging? Tollett suggests adding a 1- to 2-pound ankle weight to your bottom leg. You can also build endurance by not lowering your legs between reps, she says.
Keep in mind that these exercises are not specific to your body. Consult a qualified health professional for personalized advice.